How to Wrap Cylinder Gift for a Perfect Look
Master the art of wrapping cylindrical gifts with easy techniques, creative ideas, and pro tips for stunning presentation every time.
You know what's funny? We spend so much time picking out the perfect gift, but when it comes to wrapping something shaped like a cylinder, we're totally stumped. Whether it's a fancy bottle of wine, a poster tube, or one of those trendy water bottles everyone's obsessed with, cylindrical gifts have this uncanny ability to make even the most experienced gift wrapper feel like a complete beginner. Here's the thing though – wrapping a cylinder doesn't have to be the headache we've all made it out to be. With the right techniques and a bit of creativity, you'll be churning out beautifully wrapped cylindrical presents like nobody's business. This guide's gonna walk you through everything you need to know about transforming that awkward tube shape into a gorgeously presented gift that'll have everyone asking how you did it.
Why Cylindrical Gifts Are Trickier Than Regular Boxes
Let's be real for a second. Boxes are a piece of cake because they've got those nice flat surfaces and crisp edges that play well with wrapping paper. Cylinders? Not so much. They roll around on your table, the paper slides off, and don't even get me started on those weird bunching issues at the ends. The rounded surface means you can't just fold and crease like you normally would, and tape seems to lose its sticking power right when you need it most. But hey, once you understand why cylinders are challenging, you're already halfway to conquering them.
Gathering Your Wrapping Supplies
Before diving into the actual wrapping process, you've gotta make sure you're armed with the right tools. Trust me, having everything within arm's reach makes the whole experience way less frustrating.
You'll want to grab some quality wrapping paper that's not too thick or too thin. Medium weight works best for cylindrical shapes because it's flexible enough to work with curves but sturdy enough to hold its shape. Scissors are obviously essential, and sharp ones at that. Double-sided tape is your best friend here because nobody wants to see tape lines running down their beautifully wrapped gift. Ribbon, twine, or decorative cord will help you finish off those ends with style. If you're feeling fancy, throw in some tissue paper, gift tags, and embellishments like stickers or small ornaments.
The Classic Cylinder Wrapping Technique
Alright, let's get down to brass tacks. The classic method for How to Wrap Cylinder Gift for a Perfect Look is all about working with the shape rather than fighting against it.
Start by measuring your wrapping paper. You'll need enough to wrap around the cylinder with about two inches of overlap, plus extra length on each end that equals roughly half the diameter of your cylinder. Lay your paper pattern-side down on a flat surface. Place your cylinder at one edge of the paper and roll it across, making sure the paper stays smooth and taut. Once you've rolled it completely, secure the seam with double-sided tape running the entire length.
Now comes the fun part – dealing with those ends. Working on one end at a time, you're gonna create small pleats around the circular opening. Think of it like you're making a fan. Gently press small sections of the paper toward the center, creating neat folds that overlap slightly. Keep going around the circle until you've covered the entire opening. Once all your pleats are in place, secure the center with a small piece of tape or a decorative sticker.
The Candy Wrapper Method
Oh man, this technique is super cute and honestly one of the easiest ways to tackle cylindrical gifts. It's called the candy wrapper method because, well, it looks exactly like those old-fashioned wrapped candies your grandma used to have in her candy dish.
Cut your wrapping paper so it's long enough to cover the cylinder with several inches extending past each end. Wrap the paper around the cylinder and secure it with tape along the seam. Here's where it gets different from the classic method – instead of pleating the ends, you're simply going to twist them. Gather the excess paper at one end and give it a good twist, keeping it tight against the cylinder's edge. Secure with ribbon, twist tie, or decorative cord. Repeat on the other end, and voila! You've got yourself a giant wrapped candy.
This method works brilliantly for wine bottles, rolled posters, or any cylinder that's got a bit of length to it. Plus, it's way faster than pleating, which is perfect when you're wrapping multiple gifts.
The Tissue Paper Layering Approach
Sometimes the best way to wrap a cylinder is to embrace a more casual, artsy vibe. The tissue paper method gives you that effortlessly chic look that's super popular right now.
Grab several sheets of tissue paper in coordinating colors. Lay them on top of each other, slightly offset so you get that pretty layered effect. Place your cylindrical gift diagonally across the tissue paper stack. Bring up the sides and gather them at the top, bunching the tissue paper together. Secure with ribbon, raffia, or a decorative string, and fluff out the tissue paper at the top to create a pretty bouquet effect.
This technique's perfect for things like thermos bottles, travel mugs, or any cylinder where you want a more relaxed presentation. It's also super forgiving, which makes it great for beginners.
Using Gift Bags and Creative Containers
Look, sometimes the smartest move is to work smarter, not harder. There's absolutely nothing wrong with using a gift bag or box designed for cylindrical items. In fact, wine gift bags exist specifically for this reason, and they look fantastic.
If you're going the gift bag route, add some tissue paper peeking out the top for that finished look. Crinkle cut paper shreds at the bottom can help stabilize your cylinder and add a pop of color. For a more creative approach, consider using decorative tubes or containers that become part of the gift itself. Fabric wine bags are reusable and eco-friendly, and decorative tubes can be repurposed for storage.
Adding Those Finishing Touches
Here's where you really make your wrapped cylinder shine. The finishing touches transform a nicely wrapped gift into something truly special.
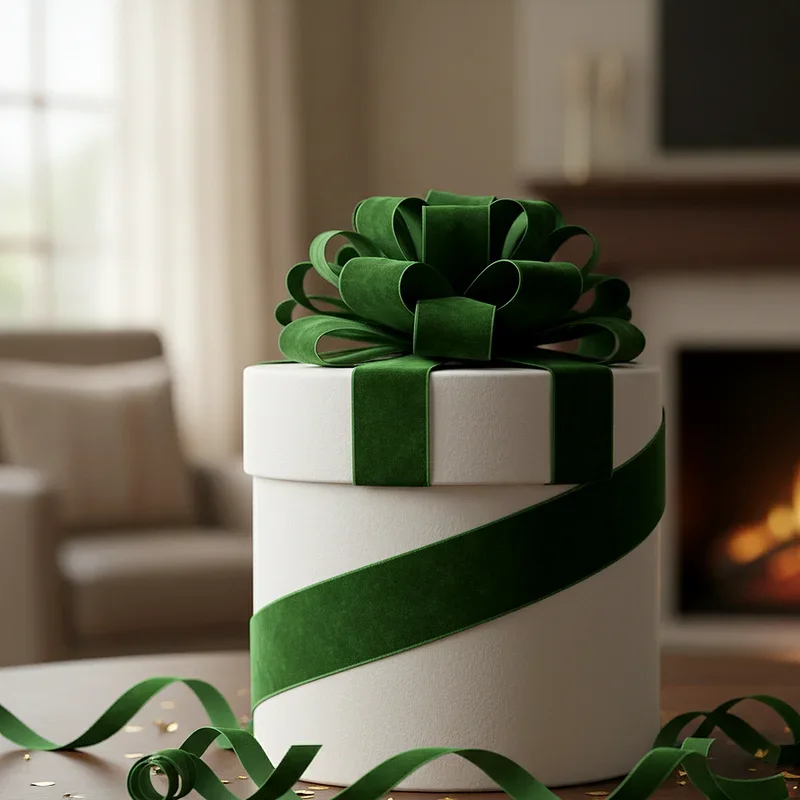
Ribbons are your go-to for adding elegance. Try wrapping ribbon around the cylinder horizontally and tying a bow, or create a crisscross pattern that runs the length of the gift. Fresh or artificial greenery tucked under the ribbon gives a natural, organic feel that's especially nice during the holidays. Gift tags shouldn't be an afterthought – they're part of the overall presentation. Attach them with coordinating string or ribbon.
For extra pizzazz, consider adding small ornaments, bells, or charms that relate to the gift inside or the recipient's interests. A small pine cone on a holiday gift, a miniature sports item for the sports enthusiast, or a tiny book charm for the reader in your life shows you put thought into every detail.
Wrapping Oddly Shaped Cylinders
Not all cylinders are created equal, right? Some are short and fat, others are long and skinny, and some have weird bumps or protrusions that make wrapping even trickier.
For tapered cylinders like wine bottles with a neck, you've got options. You can wrap the body and neck separately, creating a distinction between the two sections with ribbon or decorative paper bands. Alternatively, use the tissue paper method which naturally accommodates different widths. For squat, wide cylinders, the pleating method works better than the candy wrapper approach because there's less length to work with. Really long, skinny cylinders look fantastic with the candy wrapper method or even rolled in kraft paper and tied with twine for that minimalist aesthetic.
Eco-Friendly Wrapping Options
Given that we're all trying to be more environmentally conscious these days, it's worth exploring sustainable wrapping options for your cylindrical gifts.
Fabric wraps using the Furoshiki technique can be adapted for cylinders beautifully. Reusable fabric wine bags come in tons of patterns and styles. Brown kraft paper or newspaper gives that trendy, rustic look while being recyclable. Skip the plastic ribbon and opt for natural twine, jute cord, or fabric strips instead. You can even use scarves, tea towels, or cloth napkins as wrapping material – they become part of the gift itself.
Common Mistakes to Avoid
Let's talk about what not to do when you're learning How to Wrap Cylinder Gift for a Perfect Look. Learning from others' mistakes is way easier than making them yourself.
Using too much tape is a biggie. It looks messy and makes the gift hard to unwrap. Not measuring your paper properly before cutting means you'll either have too much excess creating bulk, or worse, not enough to cover the gift. Choosing paper that's too stiff won't conform to the curved surface, leaving gaps and awkward bunching. Forgetting to secure the cylinder while wrapping leads to it rolling around and ruining your careful work. Finally, rushing through the pleating or twisting steps results in a sloppy finish that undermines all your effort.
Pro Tips for Professional Results
Wanna know the secrets that make wrapped gifts look like they came from a high-end boutique? Here you go.
Always use double-sided tape instead of regular tape when possible. The invisible hold makes everything look cleaner. Iron your wrapping paper before using it if it's been rolled or folded. Wrinkles are not cute. Work on a non-slip surface or place a towel under your wrapping paper to keep things from sliding around. Practice your pleating technique on scrap paper first, especially if you're working with expensive wrapping paper. Keep your folds consistent in size for that uniform, professional appearance. And here's a game-changer – use a cardboard tube insert if your cylinder is soft or floppy. It'll maintain the shape and make wrapping so much easier.
Themed Wrapping Ideas
Taking your cylinder wrapping to the next level means thinking about themes and occasions. How to Wrap Cylinder Gift for a Perfect Look often depends on when and why you're giving the gift.
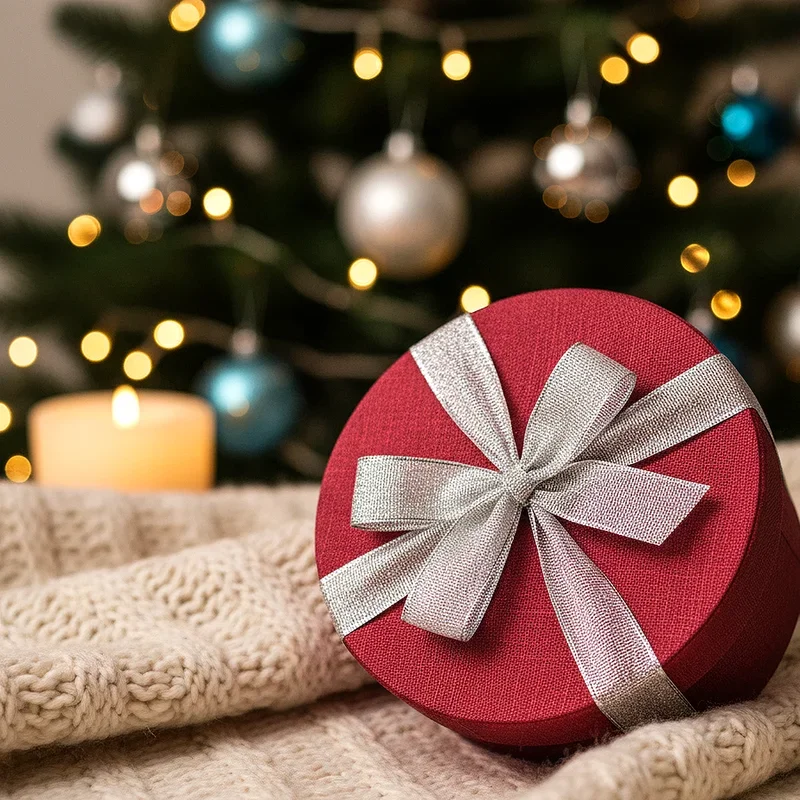
For Christmas, traditional red and green with gold ribbon never goes out of style, but don't sleep on modern alternatives like navy and silver or burgundy and cream. Add tiny ornaments, bells, or miniature pine cones for that festive touch. Birthday cylinders look awesome in bright, bold patterns with contrasting ribbon and maybe a few strategically placed stickers. Wedding or anniversary gifts call for elegant neutrals like cream, gold, or blush with satin ribbons and maybe some faux pearls or crystal accents.
Sports-themed wrapping using team colors and adding small sports-related decorations makes the presentation match the contents. For baby showers, soft pastels with baby-themed embellishments like tiny rubber ducks or rattles attached to the ribbon are absolutely adorable.
Teaching Kids to Wrap Cylinders
Getting kids involved in gift wrapping teaches them valuable skills and makes them feel included in the giving process. Cylinders are actually pretty good shapes for teaching because the techniques are straightforward once broken down.
Start with the candy wrapper method since it's the easiest. Let them practice on paper towel tubes before using actual wrapping paper. Make it fun by letting them decorate plain kraft paper with stamps, stickers, or drawings before wrapping. Pre-cut the paper to the right size so they're not struggling with measurements. Supervise the tape situation because kids tend to use approximately forty-seven pieces when two would suffice. Praise their efforts regardless of the outcome – the point is participation and learning, not perfection.
Storing Wrapped Cylinders
So you've wrapped your cylindrical gift to perfection, but the party's not for another week. How do you keep it looking pristine?
Store wrapped cylinders standing upright rather than laying them down to prevent crushing the pleated or twisted ends. If you must stack them, place them in a box with tissue paper between each layer. Keep them away from heat sources that might loosen tape or fade paper colors. A cool, dry closet works perfectly. For really delicate wrapping jobs, consider placing the wrapped cylinder in a protective gift bag until you're ready to present it.
Conclusion
Mastering cylinder wrapping transforms a potentially frustrating task into an enjoyable creative process. With these techniques, from classic pleating to candy wrapper twists, you'll confidently tackle any cylindrical gift. Remember, practice makes perfect, and even imperfect wrapping shows you care. The effort you put into presentation demonstrates thoughtfulness that recipients truly appreciate. So grab that odd-shaped gift, some pretty paper, and get wrapping. You've totally got this, and your beautifully wrapped cylinders will prove it every single time.
Read next: 15 Group Gift Ideas Everyone Will Love and Enjoy
Frequently Asked Questions
Q1. What is the easiest method for wrapping cylinder shaped gifts?
A: The candy wrapper method is easiest, requiring simple twisting at ends with ribbon.
Q2. How much extra paper do I need beyond the cylinder length?
A: Add paper equal to half the cylinder's diameter on each end for proper coverage.
Q3. Can I use regular scotch tape for wrapping cylindrical gifts?
A: Double-sided tape works better as it's invisible and holds curved surfaces more securely.
Q4. What type of wrapping paper works best for cylinder gifts?
A: Medium-weight paper offers flexibility for curves while maintaining structure and neat appearance throughout.
Q5. How do I keep cylinders from rolling while I wrap them?
A: Work on a towel or non-slip surface and secure one edge immediately.
Stay up to date with our latest ideas!