How to Tie a Bow on a Present for a Perfect Gift Look That'll Wow Everyone
Master the art of gift wrapping! Learn how to tie a bow on a present for a perfect gift look with easy step-by-step instructions and pro tips.
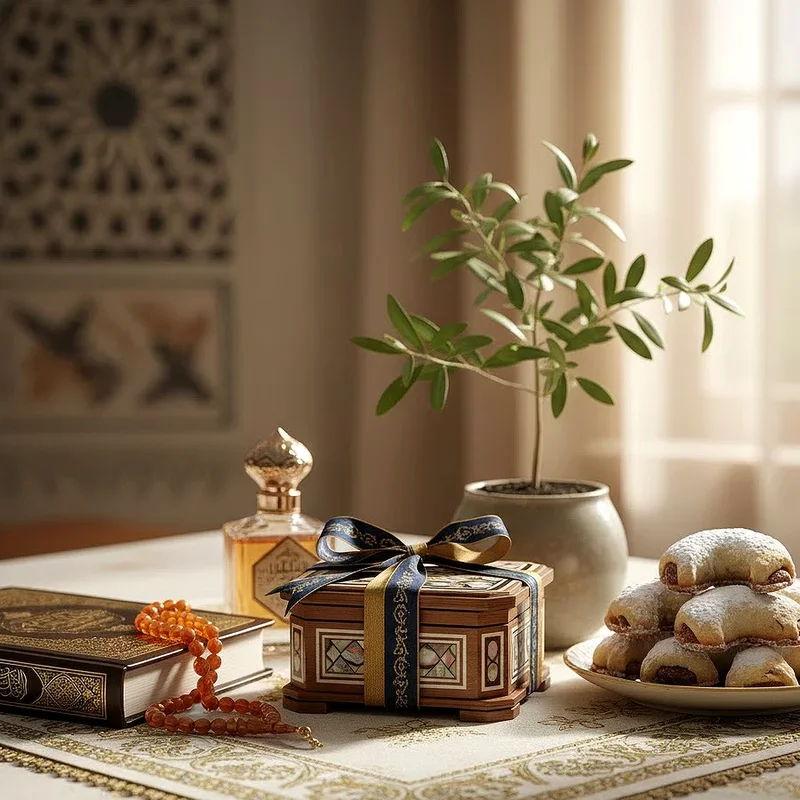
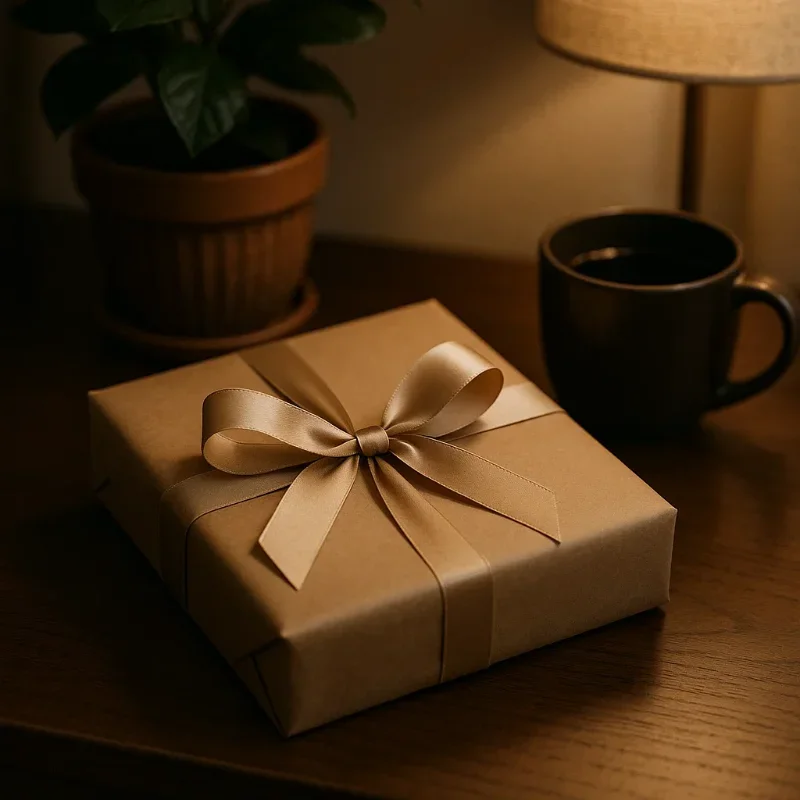
Well, here's the thing about gift giving: it's not just what's inside that counts! You've probably heard that a million times, but when you're standing there with a roll of ribbon that won't cooperate and a present that looks like it went through a tornado, you'll understand why mastering how to tie a bow on a present for a perfect gift look is actually a game changer. Trust me, I've been there, wrestling with ribbon at midnight before a birthday party, wondering why my bows looked more like sad shoelaces than the Pinterest-worthy creations I'd imagined. Learning this skill isn't just about making things pretty (though that's definitely a perk!). It's about showing someone you care enough to put in that extra effort. And honestly? Once you get the hang of it, tying beautiful bows becomes almost therapeutic. There's something satisfying about transforming a plain wrapped box into a gift that practically begs to be photographed.
Why Your Bow Game Matters More Than You Think
Let's face it, we've all received that gift where the bow was clearly an afterthought. You know, the stick-on kind that falls off before you even get home? Yeah, those don't exactly scream "I put thought into this." But when someone hands you a present with a gorgeously tied bow, sitting there all perfect and symmetrical, it sets the whole mood differently.
The psychology behind it is pretty fascinating actually. Our brains are wired to appreciate beauty and effort, and a well-tied bow signals both. It's like wearing a nice outfit to a job interview; sure, your qualifications matter most, but presentation opens doors. Same goes for gifts!
Getting Your Supplies Together (Because Preparation Is Half the Battle)
Before diving into the actual tying process, let's talk about what you'll need. And no, grabbing whatever ribbon is lying around won't cut it if you're aiming for perfection.
Here's what you should gather:
Quality ribbon (wired edges work wonders for beginners)
Sharp scissors (dull ones will fray your ribbon like crazy)
Double-sided tape or glue dots
A ruler or measuring tape
Your wrapped present (obviously!)
Patience (can't buy this one, but it's crucial)
The ribbon choice alone can make or break your bow. Satin looks elegant but can be slippery, grosgrain has great texture and stays put better, while wired ribbon is basically training wheels for bow tying. Pick your fighter based on your skill level and the look you're going for.
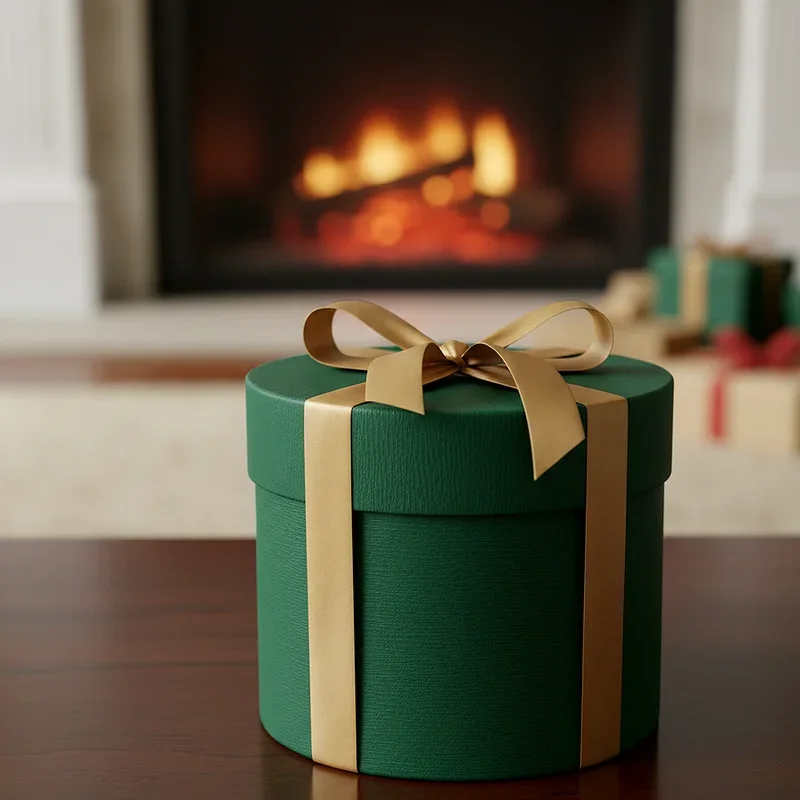
How to Tie a Bow on a Present for a Perfect Gift Look: The Classic Method
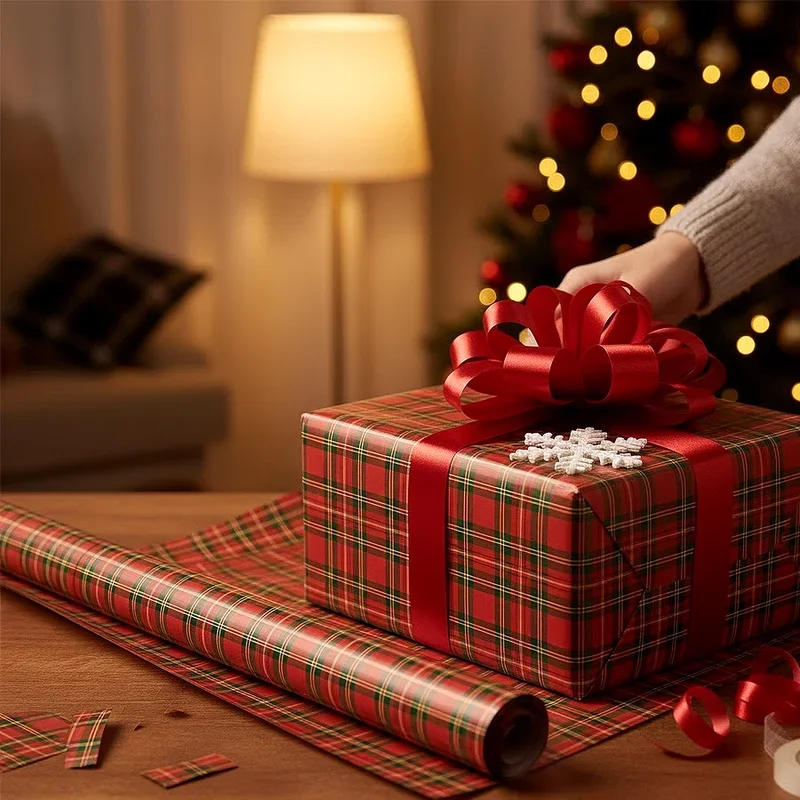
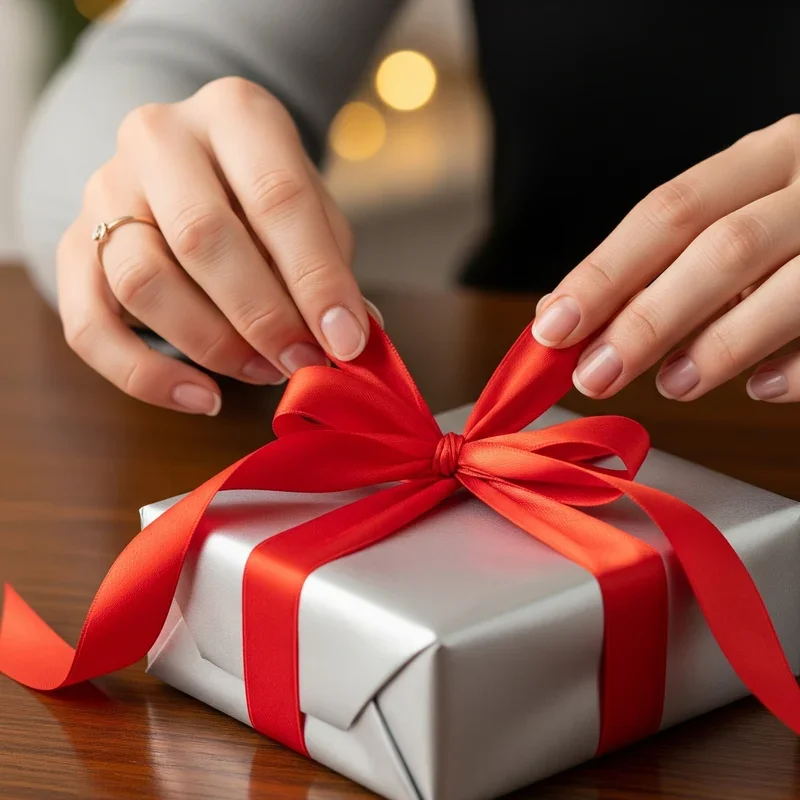
Alright, drumroll please! Here comes the main event. This classic method has been passed down through generations of gift wrappers, and once you nail it, you'll wonder why you ever struggled.
Start by measuring out your ribbon. Here's a pro tip that'll save you heartache: you'll need about five times the width of your box plus extra for the tails. Better to have too much than run short halfway through!
Place your present face down and center the ribbon on top
Wrap the ribbon around the box horizontally, bringing both ends back to the center
Cross the ribbons and flip your box over (careful not to let go!)
Bring the ribbon around vertically this time
Thread one end under the horizontal ribbon at the center
Pull both ends tight to secure everything in place
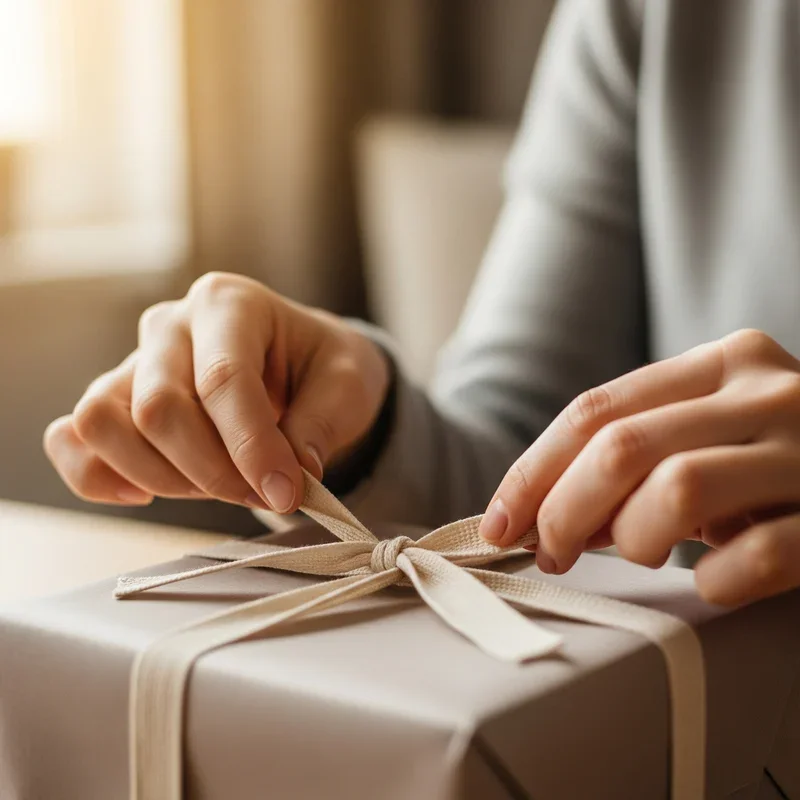
Now comes the bow-making magic. Take one ribbon end and create a loop, pinching it at the base. Here's where people usually mess up: the size of this first loop determines your final bow size, so don't go too small or too big. Goldilocks had the right idea!
The Loop-de-Loop Technique That'll Change Your Life
Once you've got that first loop pinched and ready, wrap the other ribbon end around it. This creates the center knot that holds everything together. Push the second ribbon through the hole you've created, forming your second loop as you pull it through.
Sounds simple when written out, doesn't it? But oh boy, getting those loops even and the knot centered takes practice. Don't get discouraged if your first attempts look wonky. Even professional gift wrappers had to start somewhere!
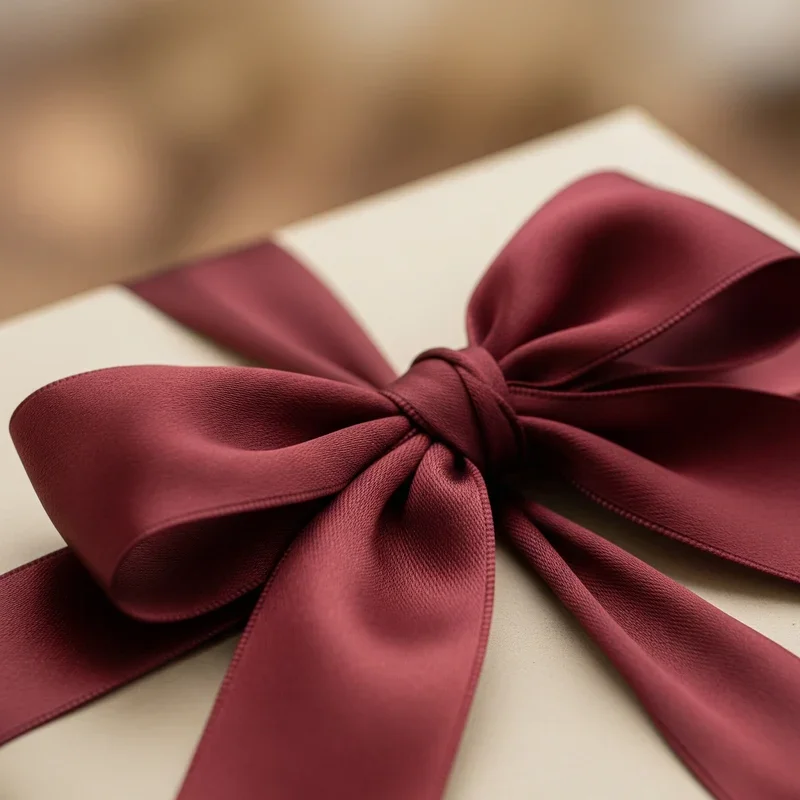
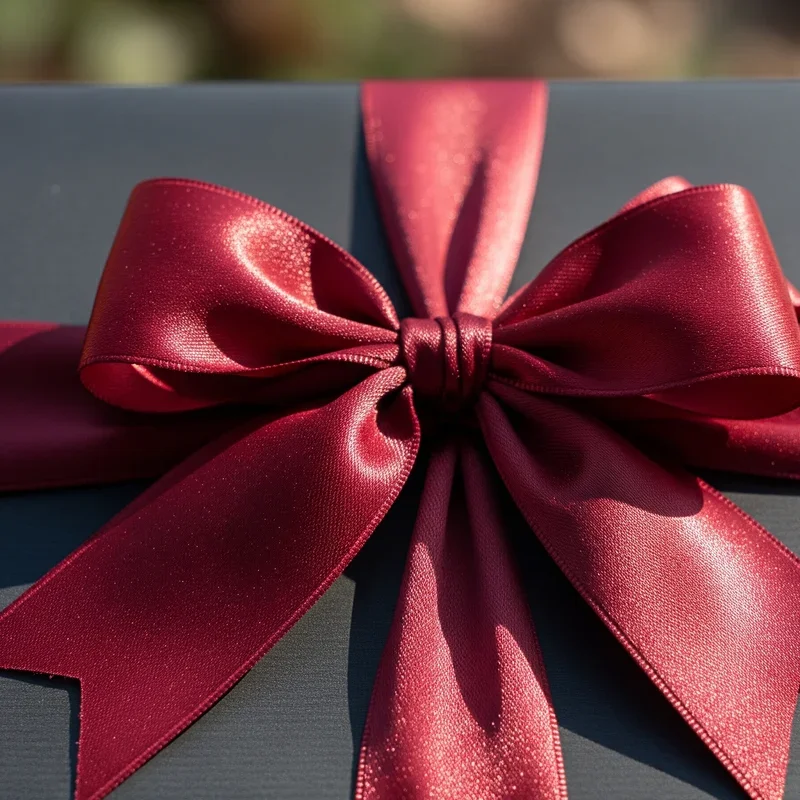
Pull both loops gently to tighten the knot, then adjust them until they're symmetrical. This is where having wired ribbon really shines; you can shape and reshape those loops until they're picture perfect.
Advanced Bow Styles for When You're Feeling Fancy
Ready to level up? Once you've mastered the basic bow, there's a whole world of fancy techniques waiting for you.
The layered bow involves creating multiple sets of loops in different sizes. Start with larger loops as your base, then add progressively smaller ones on top. It's like building a ribbon pyramid, and the effect is absolutely stunning.
Then there's the pom-pom bow, which looks complicated but is surprisingly doable. You wrap ribbon around your hand multiple times, tie it in the center, then cut and fluff the loops. Voilà! Instant wow factor.
For something really special, try combining different ribbon textures or colors. A sheer organza ribbon layered over a solid satin creates depth and interest that'll have everyone asking where you learned to wrap gifts like that.
Troubleshooting Common Bow Disasters
Let's be real for a second. Sometimes, despite your best efforts, things go sideways. Your loops are lopsided, the ribbon won't stay put, or worse, you've created what can only be described as a ribbon explosion.
If your bow keeps sliding around, the culprit is usually ribbon that's too silky or a knot that isn't tight enough. Solution? Add a tiny dot of hot glue under the center knot. Nobody will know, and your bow will stay put through anything.
Uneven loops driving you crazy? Here's a hack: cut a small piece of cardboard to your desired loop size and use it as a template. Wrap your ribbon around it for each loop, and they'll come out identical every time.
Ribbon fraying at the ends? Either your scissors need sharpening, or you're cutting at the wrong angle. Try cutting at a 45-degree angle or in an inverted V shape. Not only does this prevent fraying, but it also looks super professional.
Adding Those Extra Special Touches
Now that you've got the basics down, let's talk about taking things to the next level. Adding embellishments to your bow can transform a nice gift into an unforgettable one.
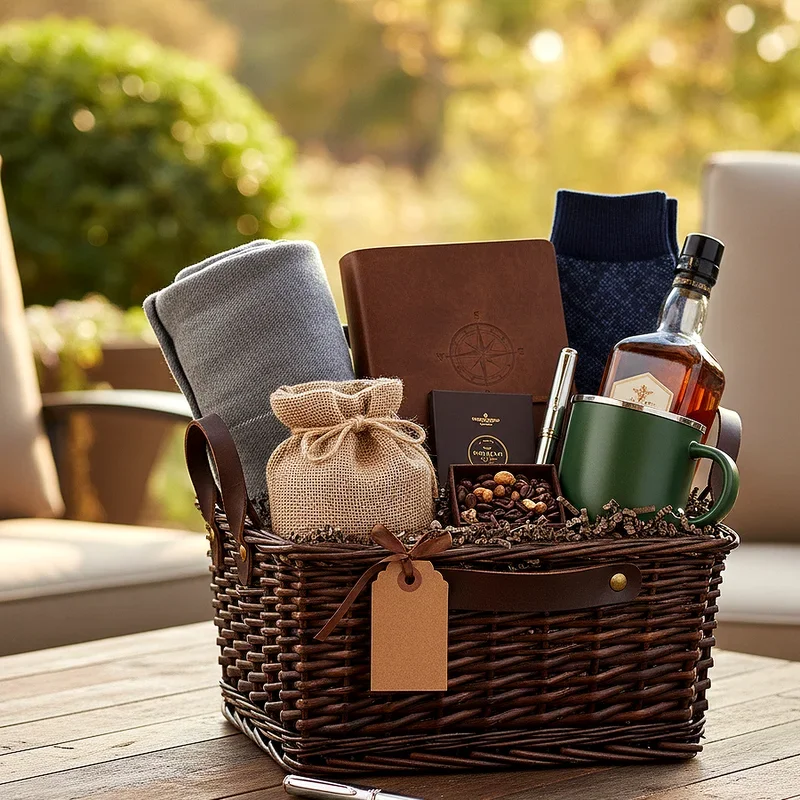
Consider tucking in some artificial greenery for Christmas presents, or tiny flowers for spring birthdays. Small ornaments, bells, or even personalized tags attached to the bow center add personality and show you've really thought about the recipient.
Here's something fun: coordinate your bow with the occasion or the person's interests. Sports fan? Use their team colors. Garden lover? Add a small packet of seeds to the bow. These little details make people feel seen and appreciated.
The Psychology of Perfect Presentation
You know what's interesting? Studies have shown that beautifully wrapped gifts are often perceived as more thoughtful and valuable, regardless of what's inside. It's not about being materialistic; it's about the effort and care that beautiful presentation represents.
When you hand someone a gift with a perfectly tied bow, you're saying "You're worth my time and effort." That message often means more than the gift itself. I've kept ribbons and bows from special presents for years, long after the actual gifts were used up or worn out.
Sustainable and Eco-Friendly Bow Options
With everyone becoming more environmentally conscious these days, it's worth mentioning that traditional ribbon isn't always the greenest choice. But don't worry! You can still achieve that perfect gift look while being kind to the planet.
Fabric scraps make beautiful bows and can be reused indefinitely. Old maps, sheet music, or newspaper can be cut into strips and curled for a unique, recyclable bow. Natural twine paired with dried flowers or pine cones creates a rustic, biodegradable option that's absolutely gorgeous.
Some crafty folks are even making bows from old T-shirts cut into strips. Talk about upcycling! The stretchy fabric actually makes tying easier for beginners, and the results are surprisingly elegant.
Cultural Considerations and Bow Etiquette
Different cultures have different gift-giving traditions, and being aware of these can help you avoid awkward situations. In some Asian cultures, for example, the color of your bow matters tremendously. White and black are associated with funerals, while red symbolizes good luck and prosperity.
The size of the bow can also send messages. In corporate settings, smaller, understated bows are usually more appropriate. For children's gifts? Go wild! The bigger and more colorful, the better.
Storage and Organization Tips for Bow Enthusiasts
Once you start getting serious about your bow game, you'll probably accumulate quite a ribbon collection. Keeping everything organized prevents crushing those perfect bows you've pre-made and stops ribbon from becoming a tangled mess.
Invest in a ribbon organizer or make your own using a pants hanger and curtain rings. Store pre-made bows in clear plastic containers with tissue paper between layers. This way, when gift-giving occasions pop up unexpectedly (and they always do!), you're ready to roll.
Practice Makes Perfect (But Perfect Isn't Everything)
Here's something nobody tells you: even slightly imperfect handmade bows have more charm than store-bought ones. That little bit of asymmetry or the way the ribbon catches the light differently on each loop? That's what makes it special and human.
So don't stress if your first few attempts at mastering how to tie a bow on a present for a perfect gift look aren't exactly museum-worthy. The recipient will appreciate the effort regardless, and you'll get better with each try.
Conclusion
Mastering the art of tying beautiful bows transforms ordinary presents into extraordinary gifts that create lasting impressions. While it might seem daunting initially, with practice and patience, you'll soon be creating stunning bows that'll have everyone asking for your secret. Remember, it's not about achieving absolute perfection; it's about adding that personal touch that shows you care enough to make someone's gift extra special.
Read next: 15 Coworker Gift Ideas for Holidays, Birthdays, and More
Frequently Asked Questions
Q1: What type of ribbon is easiest for beginners to work with?
A: Wired ribbon is most forgiving and holds its shape best.
Q2: How much ribbon do I need for a standard gift box?
A: Measure five times the box width plus twelve inches extra.
Q3: Can I reuse ribbon from old gifts for new bows?
A: Yes, just iron it on low heat to remove creases.
Q4: Why does my bow keep sliding off the package?
A: Use double-sided tape or a glue dot underneath for security.
Q5: What's the best way to store pre-made bows?
A: Place them in plastic containers with tissue paper between layers.
Stay up to date with our latest ideas!