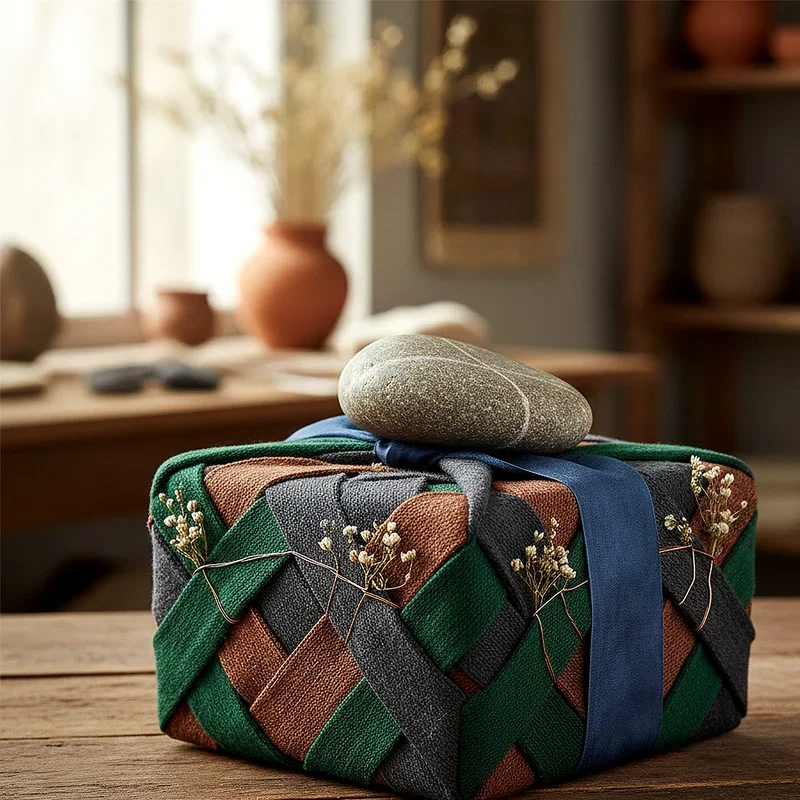
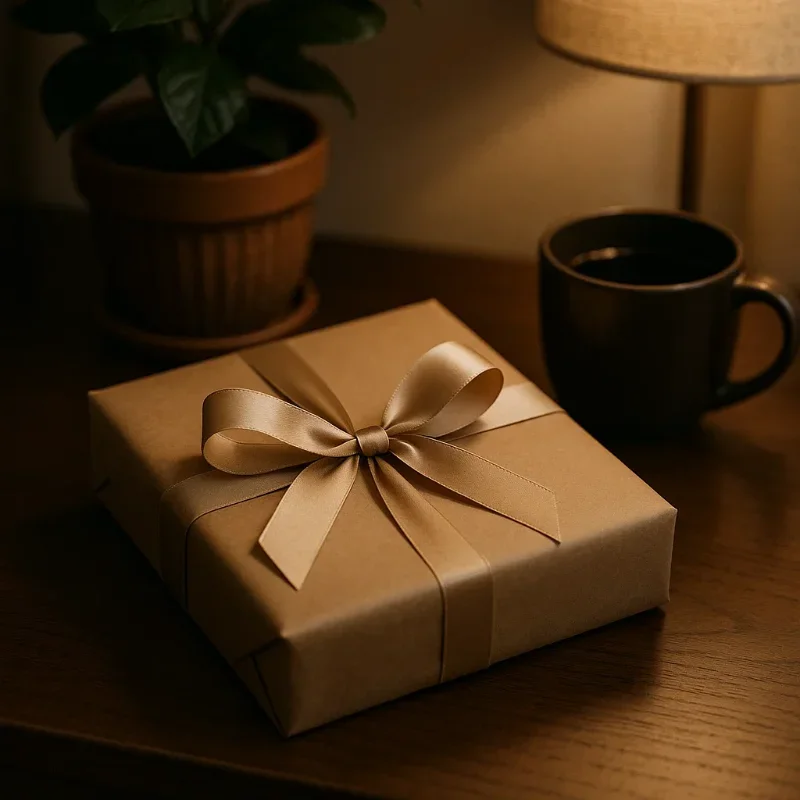
How to Make a Gift Box at Home Step by Step Guide
Learn how to make a gift box at home with this easy step-by-step guide. Create beautiful, personalized boxes for any occasion using simple materials!
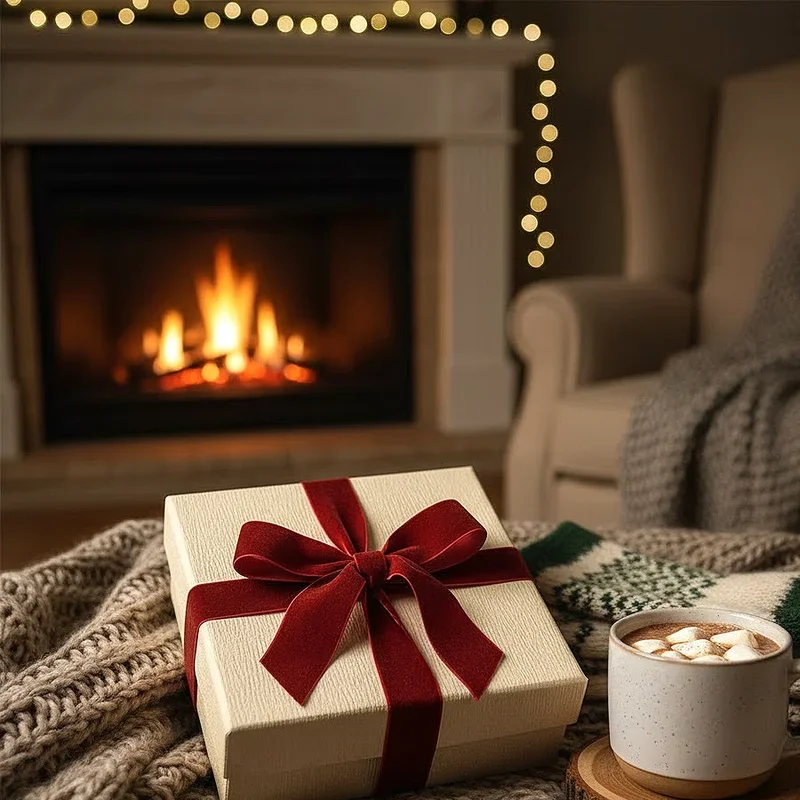
Well, isn't it just the worst when you've got the perfect gift but can't find a box that does it justice? Trust me, I've been there! Making your own gift box at home isn't just about saving a few bucks (though that's definitely a perk). It's about adding that personal touch that screams "I really care about you!" Whether you're celebrating birthdays, holidays, or just because moments, this How to Make a Gift Box at Home Step by Step Guide will turn you into a gift-wrapping wizard in no time. You know what? Store-bought boxes can be pretty darn expensive, and let's face it, they're often boring as watching paint dry. But here's the kicker: crafting your own gift box is easier than you'd think! With just a few materials lying around your house and a sprinkle of creativity, you'll be churning out gorgeous boxes that'll make everyone go "Wow, where'd you buy that?"
Why Make Your Own Gift Box at Home?
Before diving into the nitty-gritty, let's chat about why homemade gift boxes are the bee's knees. First off, you're in complete control of the size. Got an oddly shaped gift that doesn't fit standard boxes? No problem! You're the boss here. Plus, matching the box to the recipient's personality? That's what I call next-level gifting!
Speaking of personality, homemade boxes let you go wild with customization. Love vintage vibes? Slap on some old newspaper and twine. Got a friend who's obsessed with unicorns? Rainbow paper and glitter it is! The possibilities are endless, folks.
And hey, Mother Earth will thank you too. By reusing materials you already have, you're doing your bit for the environment. It's a win-win situation if you ask me!
Materials You'll Need for Your DIY Gift Box
Alright, let's talk supplies! Don't worry, you won't need to raid a craft store. Most of these items are probably hiding in your drawers right now:
• Cardstock or thick decorative paper (at least 12x12 inches) • Ruler (a must-have for straight lines) • Pencil for marking • Scissors or craft knife • Glue stick or double-sided tape • Bone folder or butter knife (for crisp folds) • Decorative elements (ribbons, stickers, stamps) • Optional: scoring board if you're feeling fancy
Pro tip: Old cereal boxes work great as cardstock alternatives! Just flip 'em inside out, and voila, you've got yourself a blank canvas.
How to Make a Gift Box at Home Step by Step Guide: The Basic Square Box
Step 1: Measure and Cut Your Paper
Starting with a square piece of paper is key here. If you're using standard 12x12 inch scrapbook paper, you're golden! For smaller boxes, trim it down to 10x10 or 8x8 inches. Remember, the bigger the paper, the bigger the box. Math was never my strong suit, but even I can handle this equation!
Using your ruler and pencil, lightly mark your measurements. Don't press too hard; we don't want those pencil marks showing through later. Cut carefully along the lines. Taking your time here pays off big time!
Step 2: Create the Fold Lines
Now comes the fun part! Place your paper decorative side down. Measure and mark 3 inches from each edge (adjust this measurement based on your paper size). You're essentially creating a tic-tac-toe board on your paper.
Using your ruler as a guide and your bone folder (or butter knife), score along these lines. Scoring means creating an indent without cutting through. This little trick makes folding a breeze and gives you those professional-looking crisp edges.
Step 3: Cut the Corner Squares
Looking at your scored paper, you'll notice it's divided into nine squares. Cut out the four corner squares completely. Don't throw these away though! They make great gift tags or decoration pieces. Waste not, want not, right?
Step 4: Form the Box Walls
Here's where the magic happens! Fold up all four sides along your scored lines. The corners might seem a bit wonky at first, but hang in there. Apply glue or double-sided tape to the outside of the corner flaps.
Bring the sides together, overlapping the flaps with the adjacent walls. Press firmly and hold for a few seconds. Patience is a virtue here, folks! Rushing this step might leave you with walls that pop open at the worst possible moment.
Step 5: Reinforce and Decorate
Once your glue's dry, reinforce those corners with a bit of clear tape on the inside if needed. Nobody's gonna see it, and it'll make your box sturdy enough to survive the gift-giving gauntlet!
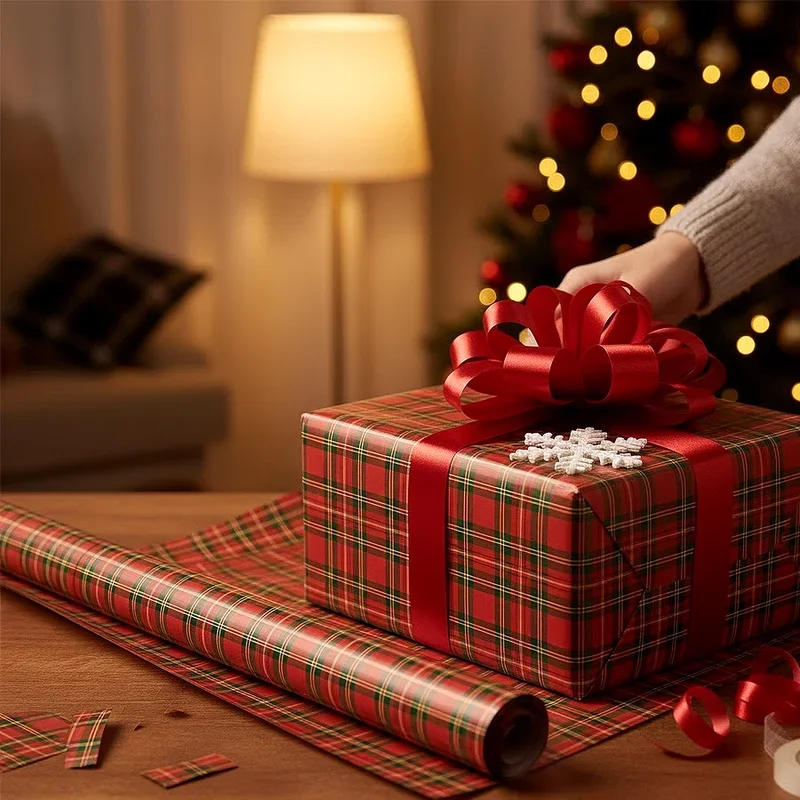
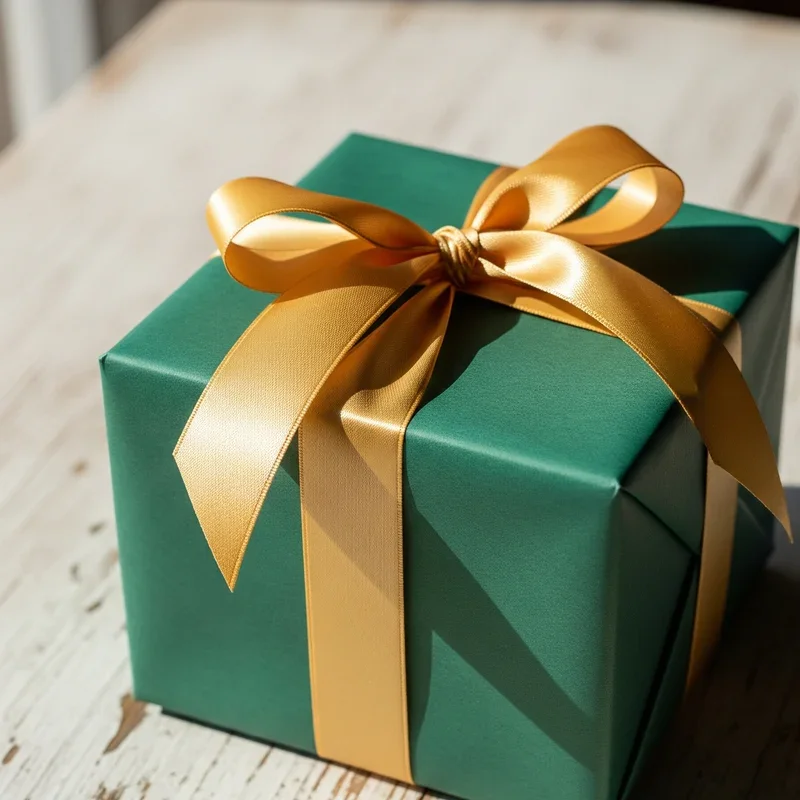
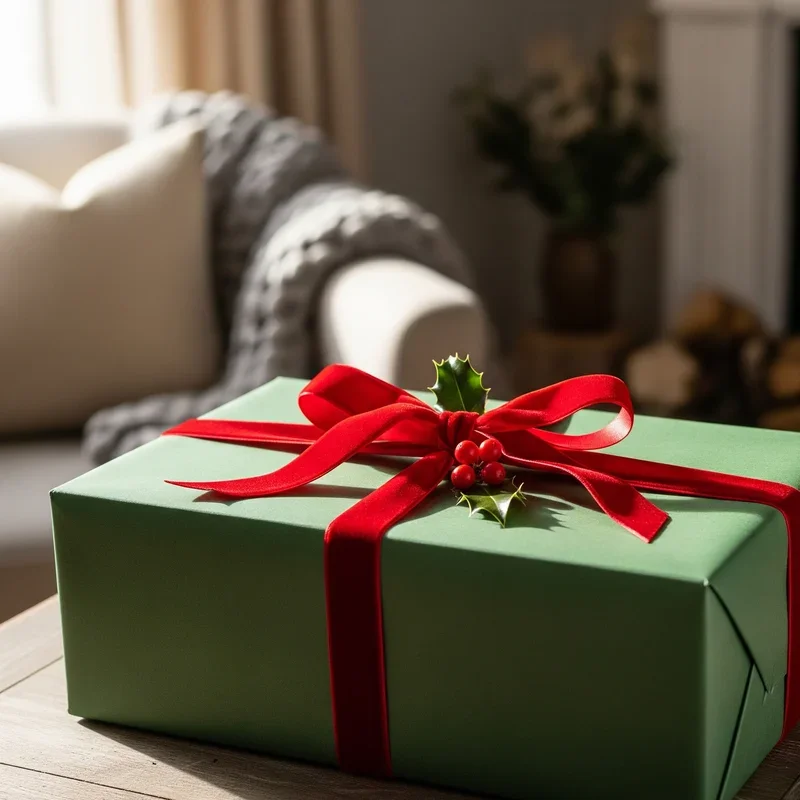
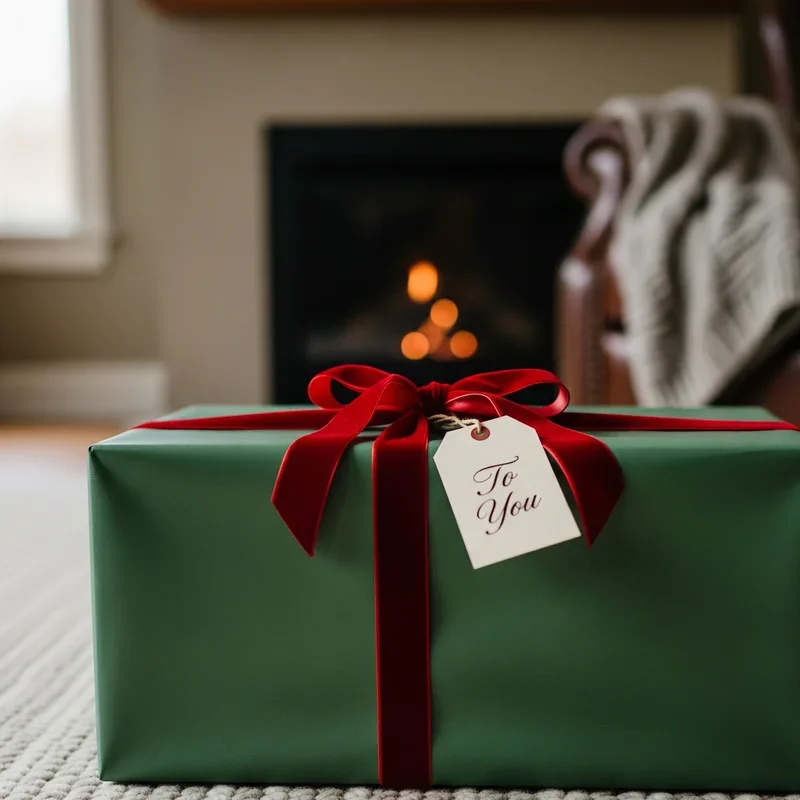
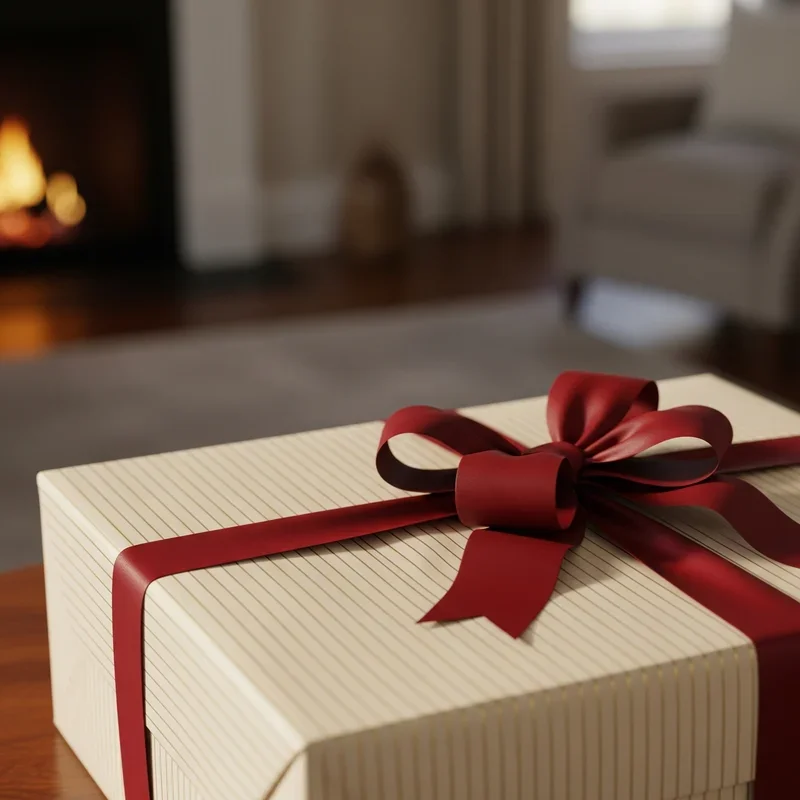
Now for the really fun stuff! Decorate to your heart's content. Ribbons, bows, stamps, drawings, whatever floats your boat. This is where your personality shines through.
Creating Different Box Styles
The Classic Lid and Base Combo
Want something a bit fancier? Make two boxes using the How to Make a Gift Box at Home Step by Step Guide above, but here's the twist: make one slightly larger than the other. The smaller one becomes your base, and the larger one transforms into a lid. Genius, right?
For the lid, use paper that's about half an inch larger on all sides. This ensures a snug but not too tight fit. Nothing worse than a lid that won't stay put or one that's stuck like glue!
The Pillow Box Wonder
Oh boy, pillow boxes are my absolute favorite! They're perfect for small gifts like jewelry or gift cards. Start with a rectangular piece of paper. Score curved lines on the short ends (trace around a cup for perfect curves). Fold the paper in half lengthwise, glue the long edge, then gently push in the curved ends. It's like magic watching it take shape!
The Pyramid Power Box
Feeling adventurous? Pyramid boxes are showstoppers! Cut a square, then make diagonal scores from corner to corner. Cut from one corner to the center, overlap the resulting triangular flaps, and secure. These babies are perfect for tiny treasures and party favors.
Troubleshooting Common Issues
Let's be real, not everything goes smoothly the first time around. If your corners aren't staying put, you might need stronger adhesive. Hot glue guns work wonders, but watch those fingers!
Paper tearing when you fold? You're probably scoring too deep or using paper that's too thin. Gentle pressure is the name of the game here.
Box looking a bit lopsided? Double-check your measurements. Even being off by a smidge can throw the whole thing off kilter. But hey, sometimes wonky adds character!
Advanced Decoration Techniques
Ready to take things up a notch? Try your hand at paper quilling for 3D decorations. Or how about some origami flowers? They'll make your box look like it came from a fancy boutique!
Stamping and embossing add texture and elegance. If you've got kids, let them go wild with finger paints or markers. Their artwork makes the gift extra special, and grandparents eat that stuff up!
Washi tape is another game-changer. It comes in countless patterns and adds instant pizzazz without any mess. Layer different tapes for a unique look that's totally you.
Eco-Friendly Options
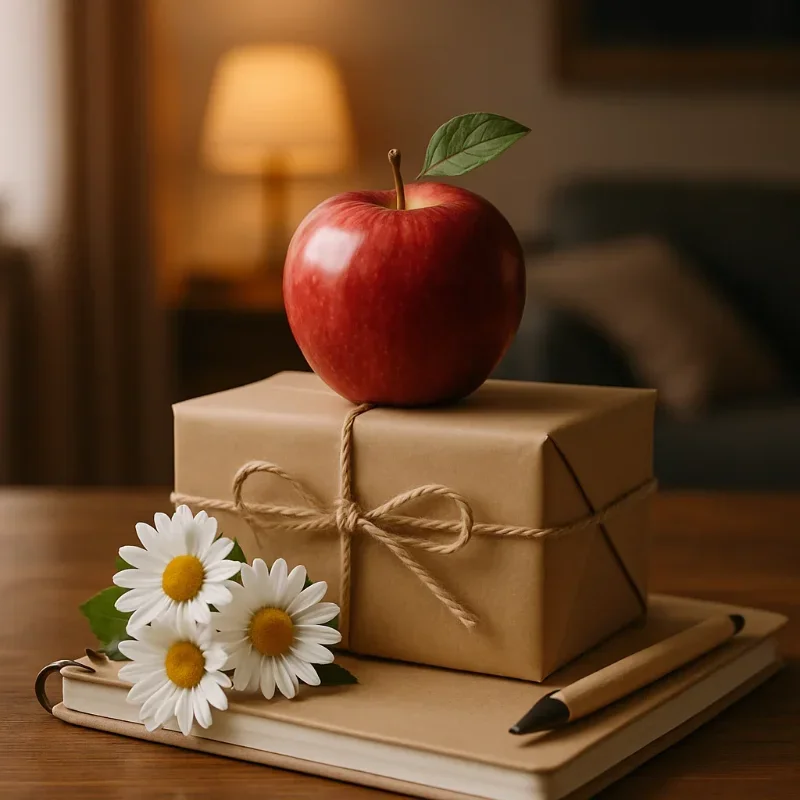
Going green with your gift boxes? I'm all for it! Use old maps, sheet music, or book pages for a vintage vibe. Newspaper works great too, especially the comics section for kids' gifts!
Brown kraft paper might seem plain Jane, but dress it up with natural elements like dried flowers, twine, or pine cones. It's rustic chic at its finest!
Fabric scraps make stunning reusable boxes. Just stiffen them with interfacing or cardboard inserts. The recipient gets two gifts in one!
Making Boxes for Different Occasions
Birthday boxes call for bright colors and maybe some confetti glued on. Anniversary gifts? Think elegant with metallic papers and satin ribbons. Christmas boxes practically beg for red, green, and gold with maybe some jingle bells attached.
For baby showers, pastel papers with tiny footprint stamps are adorable. Graduation gifts deserve something sophisticated, maybe in school colors. The key is matching the box to both the occasion and the person. It shows you've put thought into every aspect of the gift!
Storage and Organization Tips
Made too many boxes? First off, that's what I call a good problem! Stack them nested inside each other to save space. Store flat templates for boxes you love making; just trace and cut when needed.
Keep a gift box supply kit handy. Include your basic tools, favorite papers, and go-to decorations. When gift-giving occasions pop up unexpectedly (and don't they always?), you'll be ready to whip up something special in minutes.
Conclusion
Making your own gift boxes transforms ordinary presents into extraordinary treasures. With this guide, you've learned that creating beautiful, personalized boxes doesn't require artistic genius or expensive supplies. Whether you're crafting simple square boxes or elaborate pyramid designs, each handmade creation adds heartfelt meaning to your gifts. So grab those scissors, raid your paper stash, and start creating boxes that'll make your gifts unforgettable!
Read next: 15 Diwali Gift Ideas to Celebrate the Festival of Lights
Frequently Asked Questions
Q1: What's the best paper weight for making gift boxes?
A: Cardstock between 65-80 lb works perfectly for sturdy boxes.
Q2: Can I make gift boxes without a scoring tool?
A: Yes! Use a butter knife with a ruler instead.
Q3: How do I make my gift box waterproof?
A: Apply clear packing tape or use laminated paper.
Q4: What size paper makes a standard gift box?
A: A 12x12 inch paper creates a nice medium-sized box.
Q5: Can I reuse old greeting cards for gift boxes?
A: Absolutely! They're perfect for small decorative gift boxes.
Stay up to date with our latest ideas!