How to Put Tissue Paper in a Gift Bag for a Perfect Look
Master tissue paper placement in gift bags! Learn professional techniques for stunning presentation that'll wow any recipient instantly.

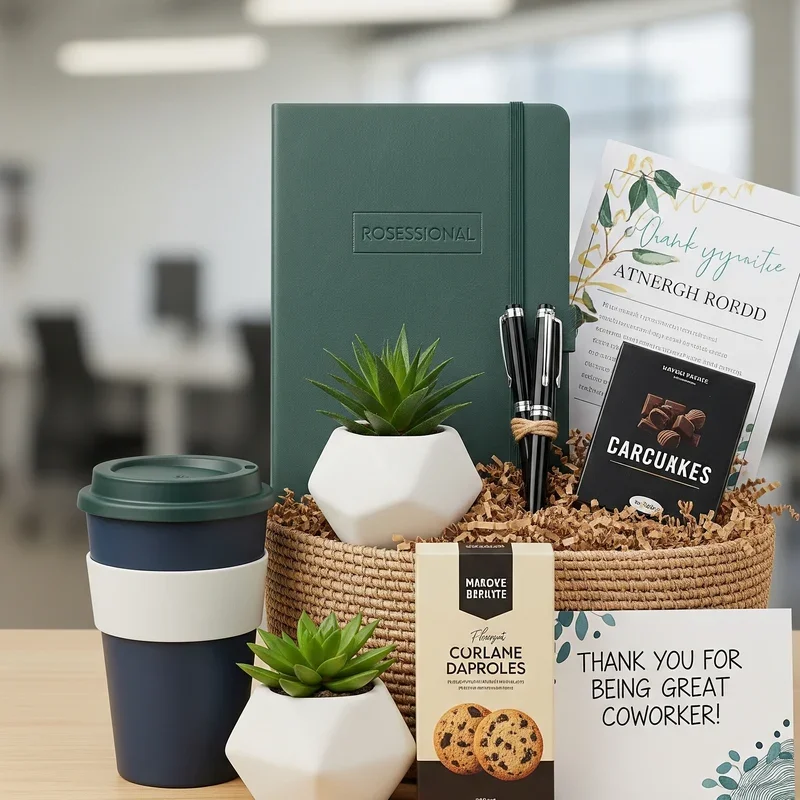
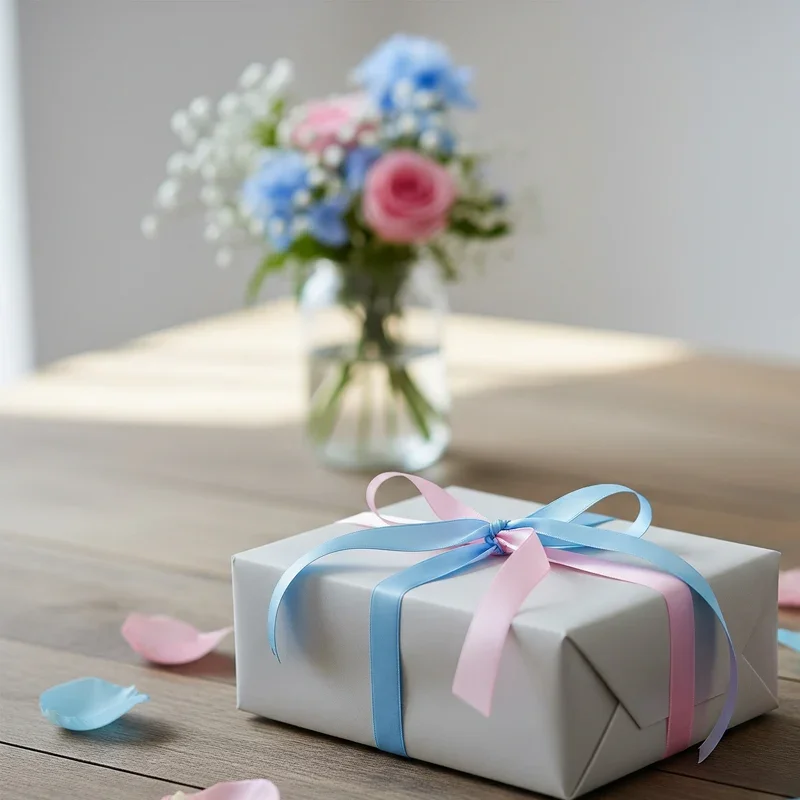
Well, here's the thing about gift giving: it's not just what's inside that counts, you know? Walking into a party with a beautifully presented gift bag can make all the difference between "oh, thanks" and "wow, this looks amazing!" That's where mastering how to put tissue paper in a gift bag for a perfect look comes into play. Whether you're prepping for a birthday bash, baby shower, or just because, nailing this simple yet crucial skill will elevate your gift-giving game to professional levels. Trust me, once you've got these techniques down pat, you'll never go back to haphazardly stuffing tissue paper into bags again!
Why Tissue Paper Presentation Actually Matters More Than You'd Think
Let's face it, we've all been there. You've picked out the perfect gift, grabbed a decent-looking bag from your stash, and then, whoops! The tissue paper looks like it got into a fight with a tornado. Not exactly the impression you're going for, right?
The way you arrange tissue paper sets the tone for the entire gift experience. It's like the opening act before the main show. When done correctly, it builds anticipation and shows you've put thought and care into every aspect of the gift. Plus, let's be honest, Instagram-worthy gift presentations are totally a thing now!
Essential Supplies You'll Need Before Getting Started
Before diving into the techniques, gathering your supplies is key. Here's what you'll want to have on hand:
• Gift bag (obviously!) • Tissue paper sheets (at least 3-5 sheets for best results) • Scissors (for custom sizing) • Double-sided tape (optional but handy) • Ribbon or gift tag • Your gift item • Flat surface for prep work
Pro tip: Always buy more tissue paper than you think you'll need. Running out mid-wrap is nobody's idea of fun!
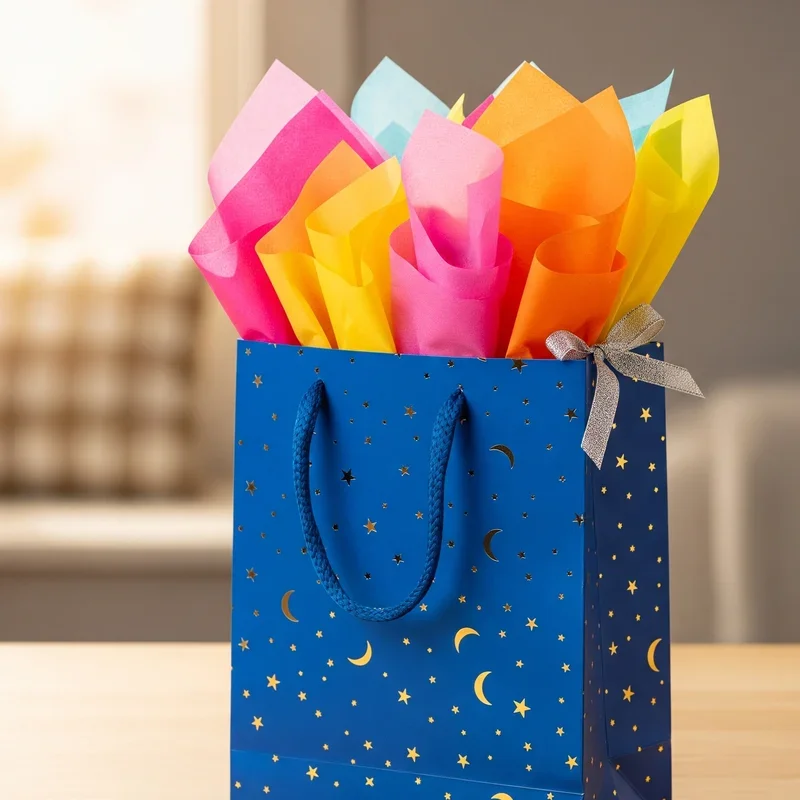
The Classic Fan Method for How to Put Tissue Paper in a Gift Bag for a Perfect Look
Alright, let's start with the crowd favorite! The fan method creates that gorgeous, full bloom effect that practically screams "I've got my life together."
First off, lay your tissue sheets flat on a clean surface. Here's where it gets interesting: you'll want to separate each sheet individually. Yeah, I know they come stuck together like they're best friends, but trust the process! Take each sheet and pinch it right in the center. Give it a gentle shake, letting the edges fall naturally into a flower-like shape.
Now comes the fun part. Place your pinched tissue paper pieces into the bag one at a time, arranging them so the "petals" face outward. Don't overthink it! The beauty of this method is that it looks effortlessly elegant even when you're basically winging it.
The Sophisticated Accordion Fold Technique
Looking to step up your game? The accordion fold is where things get fancy! This technique works especially well when you're dealing with multiple colors or when you want to create some serious visual interest.
Start by laying two or three sheets of tissue paper on top of each other. Offset them slightly so you can see each color peeking through. Beginning at one short end, fold the paper accordion-style in roughly one-inch sections. Once you've got your accordion, pinch it in the middle and fan out both ends.
Here's the kicker: place this creation in your gift bag with the pinched center at the bottom. The fanned ends will cascade over the bag's edges like a fancy fountain. Talk about making an impression!
The Two-Tone Twist Method That'll Make Everyone Ask "How'd You Do That?"
Want to really blow people's minds? Try the two-tone twist! This technique combines different colored tissues for a dynamic, professional look that retail stores would charge extra for.
Take two sheets of contrasting colors and lay them flat, one on top of the other. Starting from one corner, loosely roll them together diagonally. Don't make it too tight; you want some air in there! Once rolled, gently twist the entire thing and place it in the bag with both ends sticking up. The twisted middle creates interesting texture while the ends add height and drama.
Common Mistakes to Avoid When Arranging Tissue Paper
Oh boy, where do I start? We've all made these blunders, so don't feel bad if you recognize yourself here!
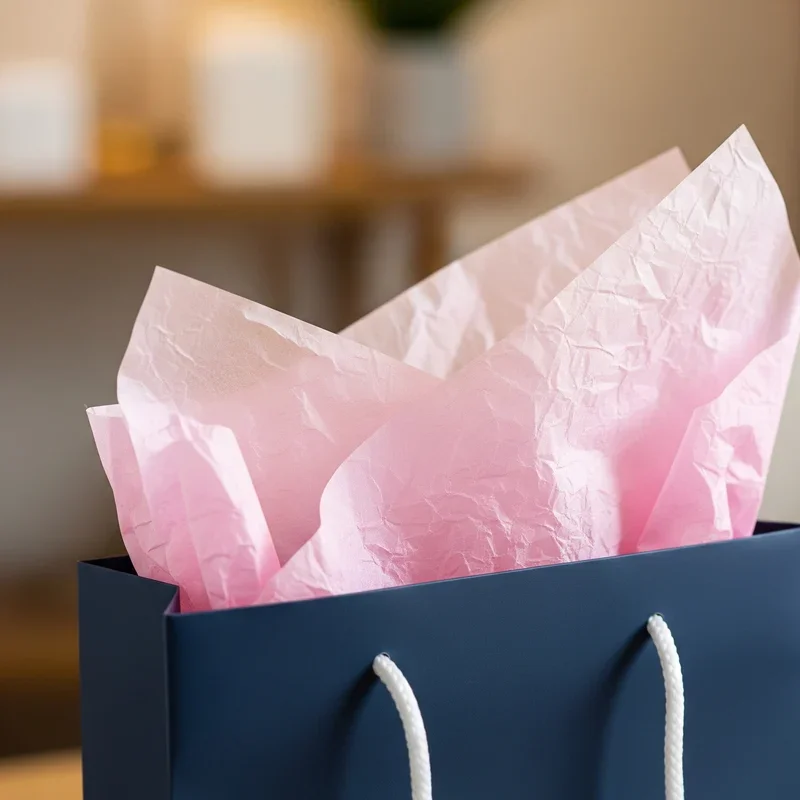
Using too little tissue paper is probably the number one mistake. Three sheets minimum, folks! One lonely sheet just looks sad and deflated. On the flip side, cramming in too much tissue makes your bag look overstuffed and messy.
Another biggie? Not fluffing the tissue properly. Those sheets need some air between them to create volume and visual interest. Simply laying them flat defeats the whole purpose!
And please, for the love of all things gift-related, check that your tissue paper isn't wrinkled beyond recognition. A quick iron on low heat can save the day if needed!
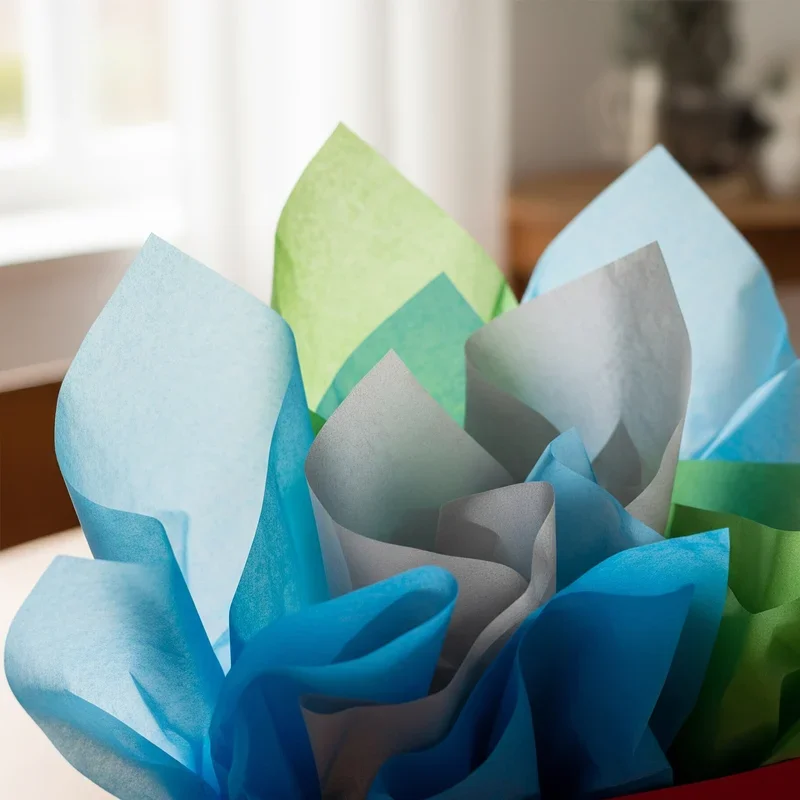
Color Coordination Tips That'll Make Your Gifts Pop
Choosing the right tissue paper colors can make or break your presentation. Sure, you could go matchy-matchy with the bag, but where's the fun in that?
Consider complementary colors for maximum impact. Got a navy bag? Try coral or gold tissue! Working with a white bag gives you carte blanche to go wild with any color combination. Season-appropriate colors work wonders too. Think pastels for spring, rich jewel tones for fall, and metallics for the holidays.
Here's a secret: using three different shades of the same color creates depth without looking chaotic. Light pink, medium pink, and fuchsia? Chef's kiss!
Advanced Techniques for Special Occasions
When you really want to go all out, these advanced methods for how to put tissue paper in a gift bag for a perfect look will have everyone thinking you moonlight as a professional gift wrapper.
For weddings, try the layered ruffle technique. Cut tissue paper into graduated sizes, largest on bottom, and layer them offset from each other. Scrunch each layer slightly before placing the next one on top. The result? A gorgeous rose-like effect that's wedding-worthy!
Baby showers call for the pom-pom method. Cut tissue into circles, stack them, and accordion fold through the center. Secure with clear thread, then carefully separate and fluff each layer. Place multiple mini pom-poms in the bag for an adorable, cloud-like effect.
Securing Your Tissue Paper Masterpiece
Nothing's worse than watching your carefully arranged tissue paper slide into the bag the moment someone picks it up. Here's how to keep everything in place without making it obvious.
A tiny piece of double-sided tape at the base of your tissue arrangement works wonders. Just stick it to the bottom of the bag before placing your tissue. The paper will stay put without looking stiff or unnatural.
For the fan method, try the twist-and-tuck technique. After arranging your fanned pieces, give the bottoms a gentle twist together and tuck them behind the gift. This creates a stable base while maintaining that effortless look up top.
Troubleshooting Common Tissue Paper Problems
So your tissue paper's being stubborn? Join the club! Static-clingy tissue is super annoying, especially in winter. A light spritz of water from far away (and I mean far!) can help calm things down.
Got tissue that's too short for your bag? Layer it! Place one set normally, then add another set turned 90 degrees. The crisscross pattern adds fullness and solves your height problem.
Dealing with tissue that keeps flopping over? Try the reinforcement method: fold a small section at the base of each sheet before placing it in the bag. This creates a stronger foundation that stands up better.
Budget-Friendly Tissue Paper Hacks
Who says gorgeous presentation has to break the bank? Not me! Save tissue paper from gifts you receive (smooth it out and store it flat). Mix and match solid colors with patterned paper for an expensive-looking combination without the price tag.
White tissue paper is your best friend because it goes with everything and you can buy it in bulk. Jazz it up with stamps, stickers, or even a sprinkle of glitter for custom looks.
Here's a money-saving secret: use fewer sheets of higher-quality tissue paper rather than tons of cheap stuff. The better paper holds its shape and looks fuller, so you actually need less of it.
Making Your Gift Bag Stand Out in a Sea of Presents
At any gift-giving event, you want your present to be memorable, right? Adding small touches to your tissue paper presentation makes all the difference.
Try tucking in some artificial flowers or greenery between the tissue layers. During the holidays, miniature ornaments or pine sprigs work beautifully. For kids' parties, add some fun stickers to the tissue edges or tuck in a small balloon.
The unexpected element always wins! Consider adding battery-operated fairy lights woven through the tissue for evening events. Talk about making an entrance!
Storing and Organizing Your Tissue Paper Supplies
Keeping your tissue paper in pristine condition means you're always ready for last-minute gift giving. Store sheets flat in a large drawer or under-bed box. If space is tight, roll them loosely around a cardboard tube.
Sort by color for easy selection, and keep a separate section for special occasion papers. Those metallic and holographic sheets? Store them separately since they can transfer their finish to regular paper.
Conclusion
Mastering the art of tissue paper presentation transforms ordinary gift bags into extraordinary presentations that recipients remember long after opening their gifts. Whether you choose the classic fan, sophisticated accordion, or creative two-tone twist, these techniques ensure your gifts always make the perfect first impression. With practice, arranging tissue paper becomes second nature, adding that professional touch to every gift you give!
Read next: 15 Push Present Ideas to Make Motherhood Extra Special
Frequently Asked Questions
Q1: How many sheets of tissue paper should I use in a gift bag?
A: Use minimum three sheets for fullness and professional appearance.
Q2: Can I reuse tissue paper from gifts I've received?
A: Yes! Smooth out wrinkles and store flat for reuse.
Q3: What's the best way to fluff tissue paper?
A: Pinch center, shake gently, allowing edges to fall naturally.
Q4: Should tissue paper match the gift bag color?
A: Not necessarily; contrasting colors often create more visual interest.
Q5: How do I keep tissue paper from sliding into the bag?
A: Use small double-sided tape piece at the tissue base.
Stay up to date with our latest ideas!